After you have used the tablet to capture your photos, you can use the PhotoMemories app to organize and write your memories about your photo collection.
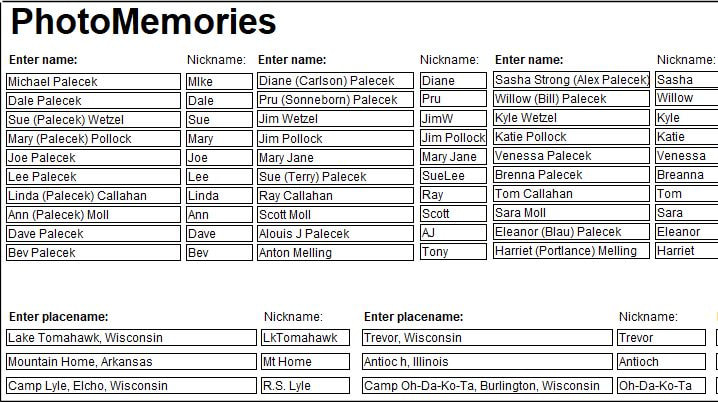
The first time you use PhotoMemories, you will set it up with up to 60 people and 12 place names. For each person, you will enter their full name and an eight character nickname. For each place, you will enter the placename and a ten character place "nickname." Click on each box and type in the information.
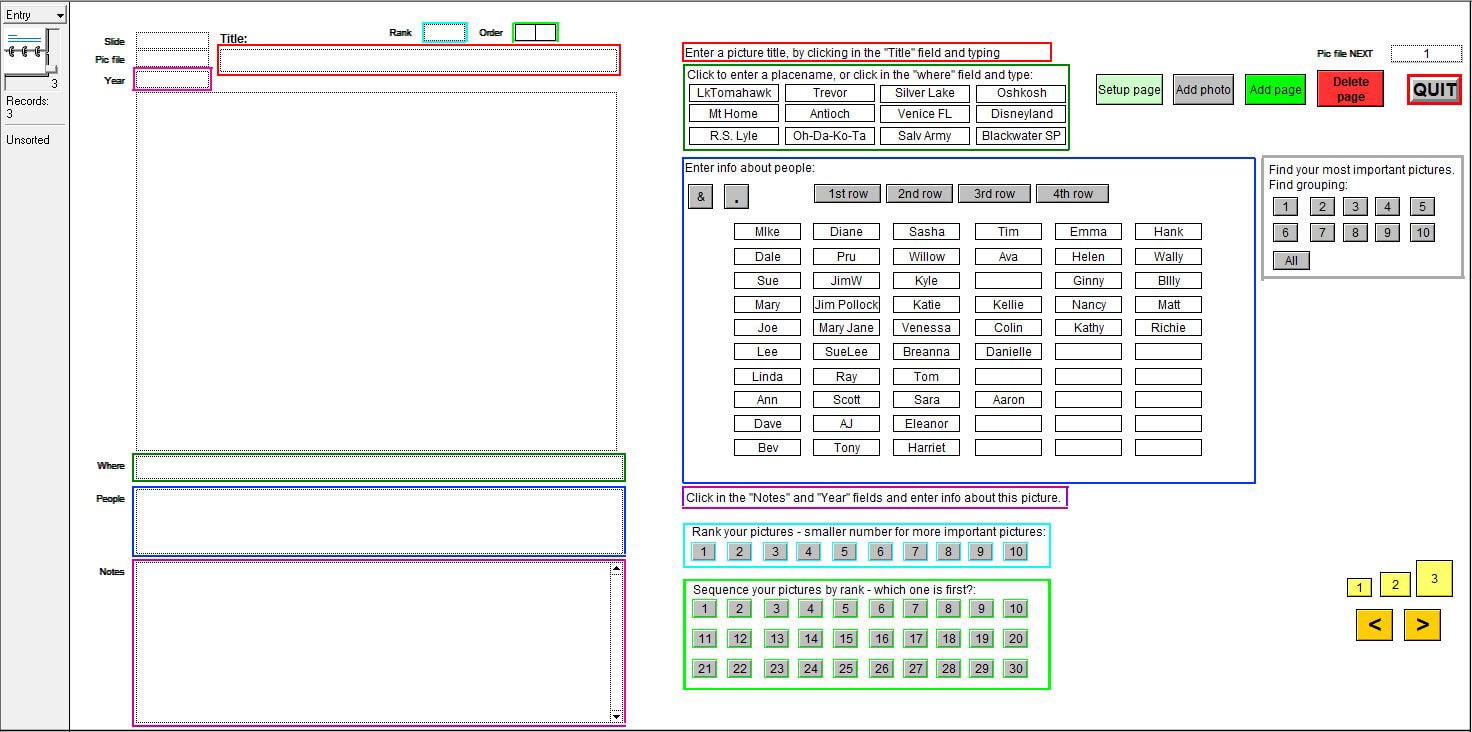
A blank PhotoMemories page looks like this.

You will start by adding a photo. Click on the "Add Photo" button in the upper right corner of the screen.
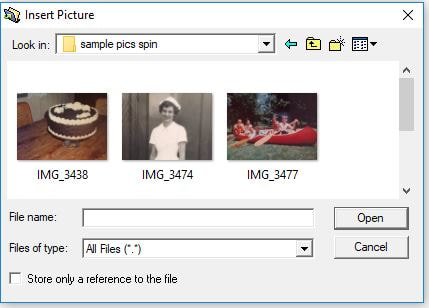
You can access your tablet's photo collection. If you have digital pictures on a USB storage drive, it is possible to access those photos, too. Just double click on the picture to open it.
All the entry information is in the middle of the screen. Follow the steps on the screen.

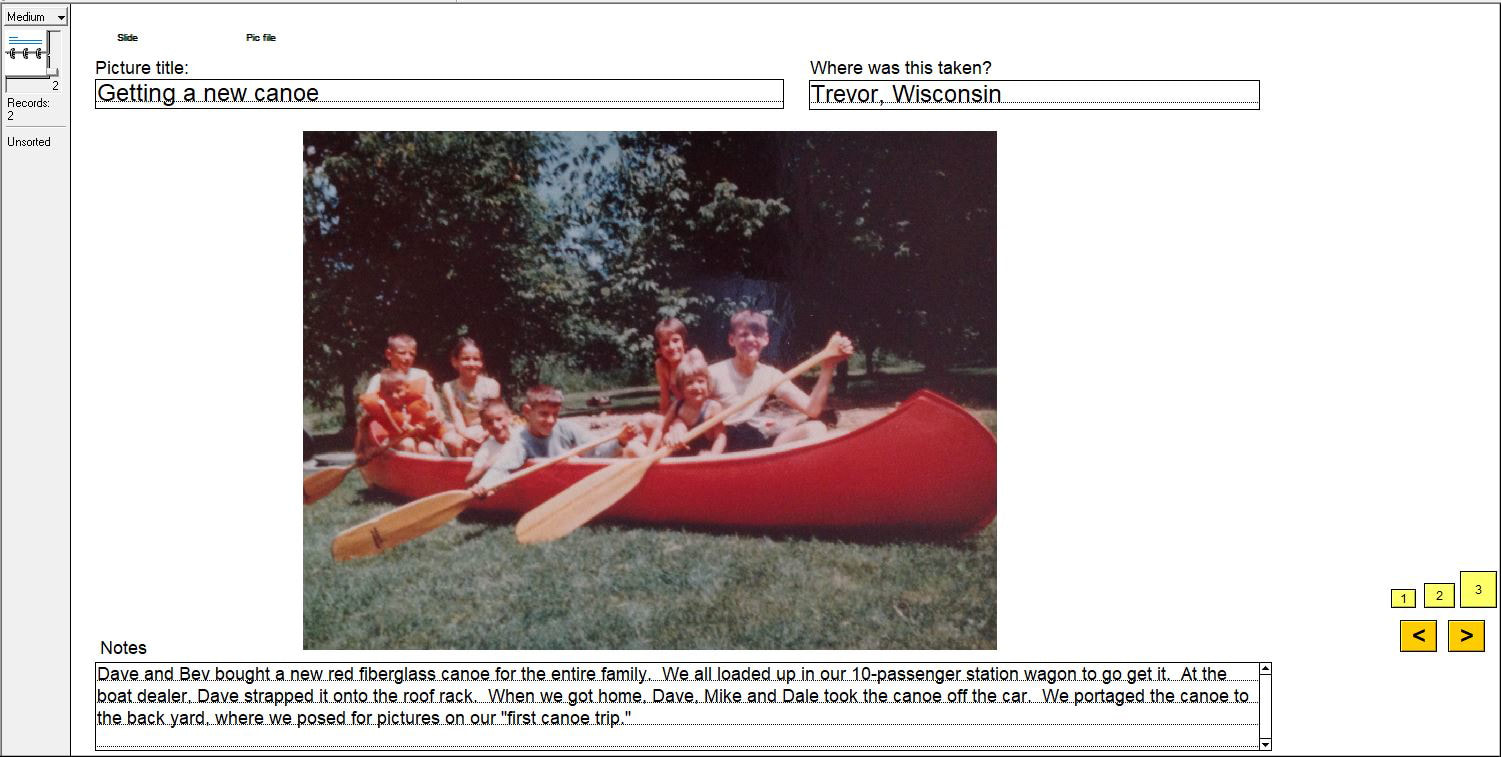
Click on the red box above the picture and enter a picture title, like "Getting a new canoe."
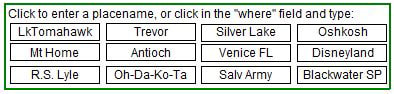
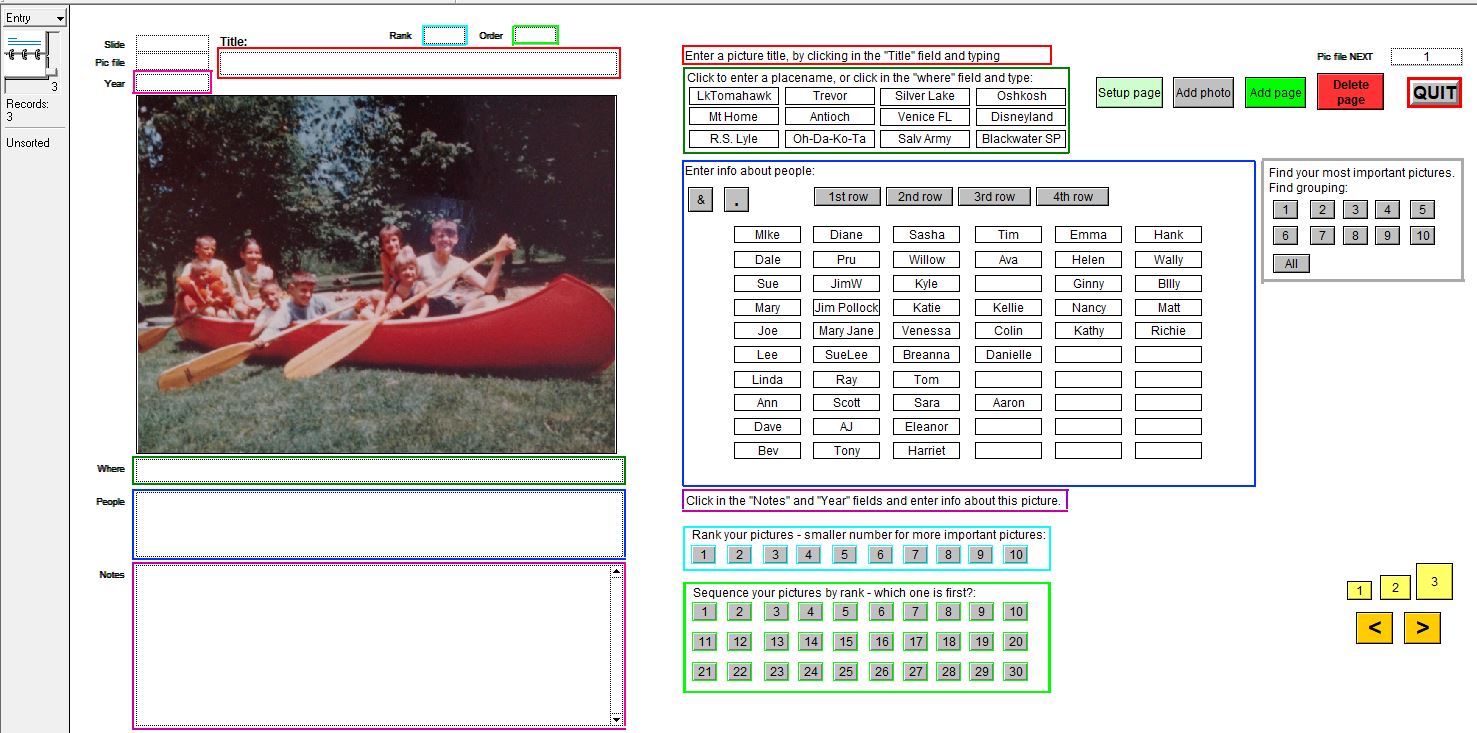
These are the place name ("where") entry buttons. You will notice that the place nicknames you entered during setup are transferred to this screen. In this example, we clicked on the "Trevor" button.

When you set up place names, "Trevor, Wisconsin" was entered as the full place name. PhotoMemories saves you a lot of time typing and makes your entries more consistent.
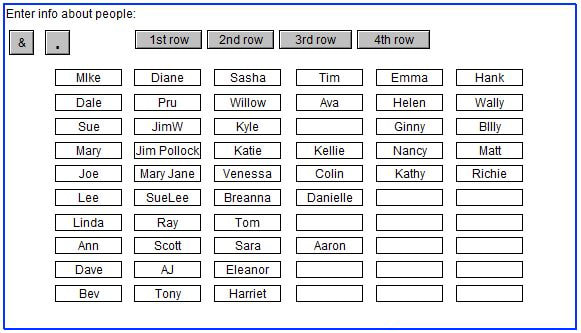
These are the name ("people") entry buttons. You will notice that the nicknames you entered during setup are transferred to this screen. Click on the names of who is in the picture. Between names, click on the "&" button, which adds a comma and a space between names. In big group photos, you will want to start with a "row" label and then add people's names. Use the "period" button as needed.
In this example, we clicked on the "Mike" button, then clicked on "&" and then "Ann" then "&" and so on.
In this example, we clicked on the "Mike" button, then clicked on "&" and then "Ann" then "&" and so on.

I typed in "(from front)" to help identify everyone correctly in this photo. For group shots, you can use the "1st row," "2nd row," etc. buttons.
If you want to edit this information or add less common names, click in and type information into the "people" field.
If you want to edit this information or add less common names, click in and type information into the "people" field.

Below the picture, enter your memories about the picture and event in the "notes" field. Because this is a scrolling field, you can put in as much information as you wish.
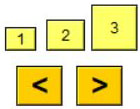
There are three different PhotoMemories views. In the "entry" view (above), you enter information about your photos. Click on the yellow boxes (1)(2)(3) to change views. Use the yellow arrow buttons to move from picture to picture.
In the medium view (#2), you will see a bigger picture and "title" "where" and "notes" fields. You can enter information on either screen 1 or 2.

In the big view (#3) you see a large version of the picture. Use this view to help identify people.

When you are finished working on a picture, go back to the entry view (#1) and click the "Add a Page" button. You might enjoy building all of your pages first, adding your photos and then adding information later.
Catagorizing your photos
Which are your most important photos? You can rank them by assigning what group you want the pictures to be in. Maybe you want all the "1" when you were a child, "2" when you were dating or in college, "3" of pictures at your wedding, "4" when your children were young, etc. Don't worry, you can always change your groupings.

Which are your most important photos in each group? Use this to decide the order you want to show others your pictures.